🖼️ Visual Aids & Diagrams
Visual resources to help you understand the ROBOFARM system
🔌 Component Wiring Guide
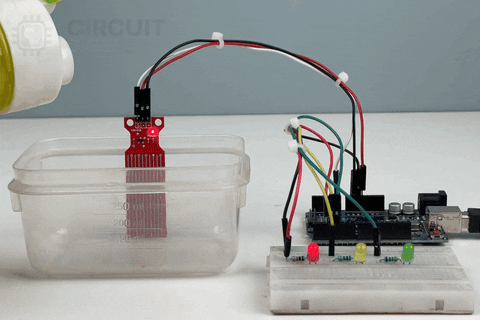
🧠 Arduino & Sensors
How to connect the sensors to the Arduino Uno.
⚙️ Motor Driver (L298N)
Connecting motors and battery to the driver module.
📦 Complete Component Gallery
🧠 Arduino Uno
Microcontroller: ATmega328P
The brain of the robot. Controls all sensors and actuators.
🚗 L293D Motor Driver
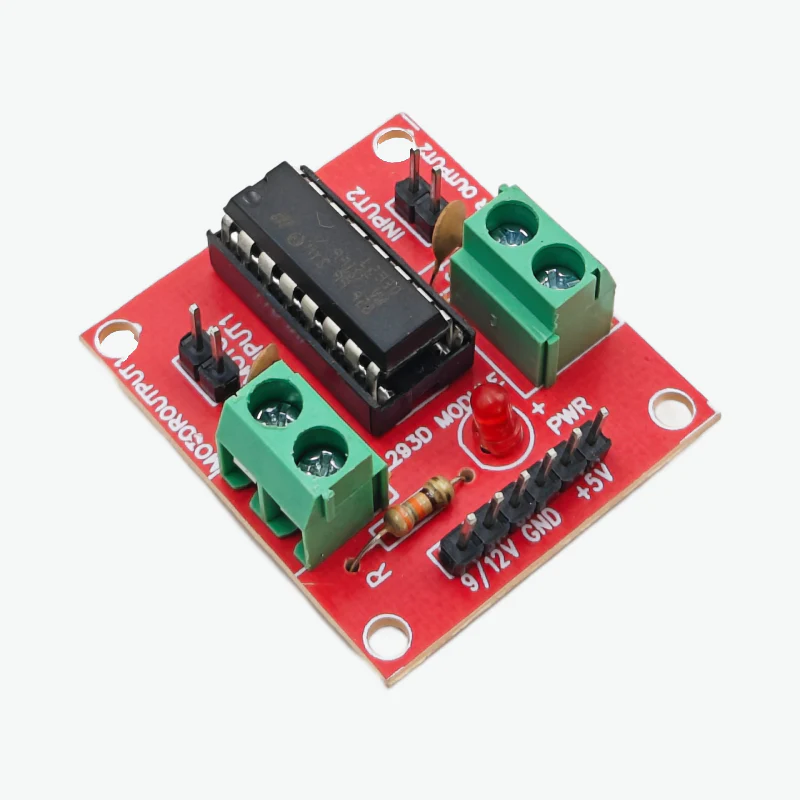
Quantity: 1
H-Bridge motor driver for controlling DC motors bidirectionally.
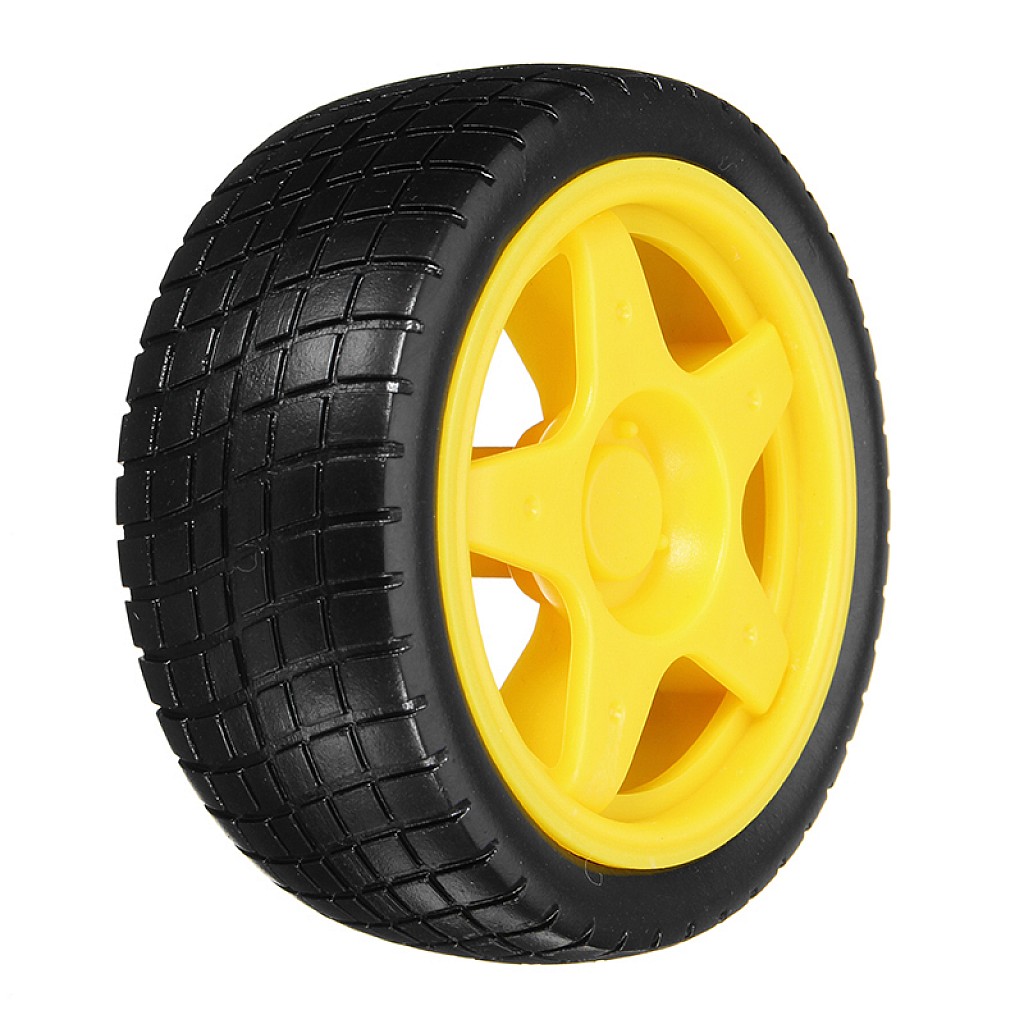
⚙️ 12V DC Motors
.jpg)
Quantity: 2
Powers the robot's wheels for movement.
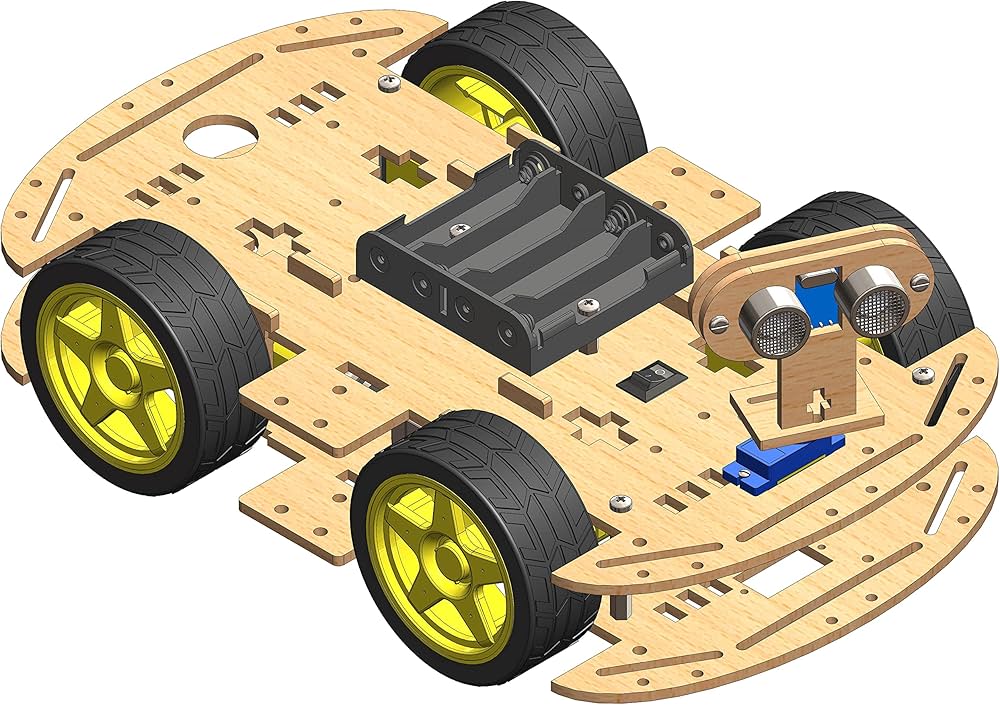
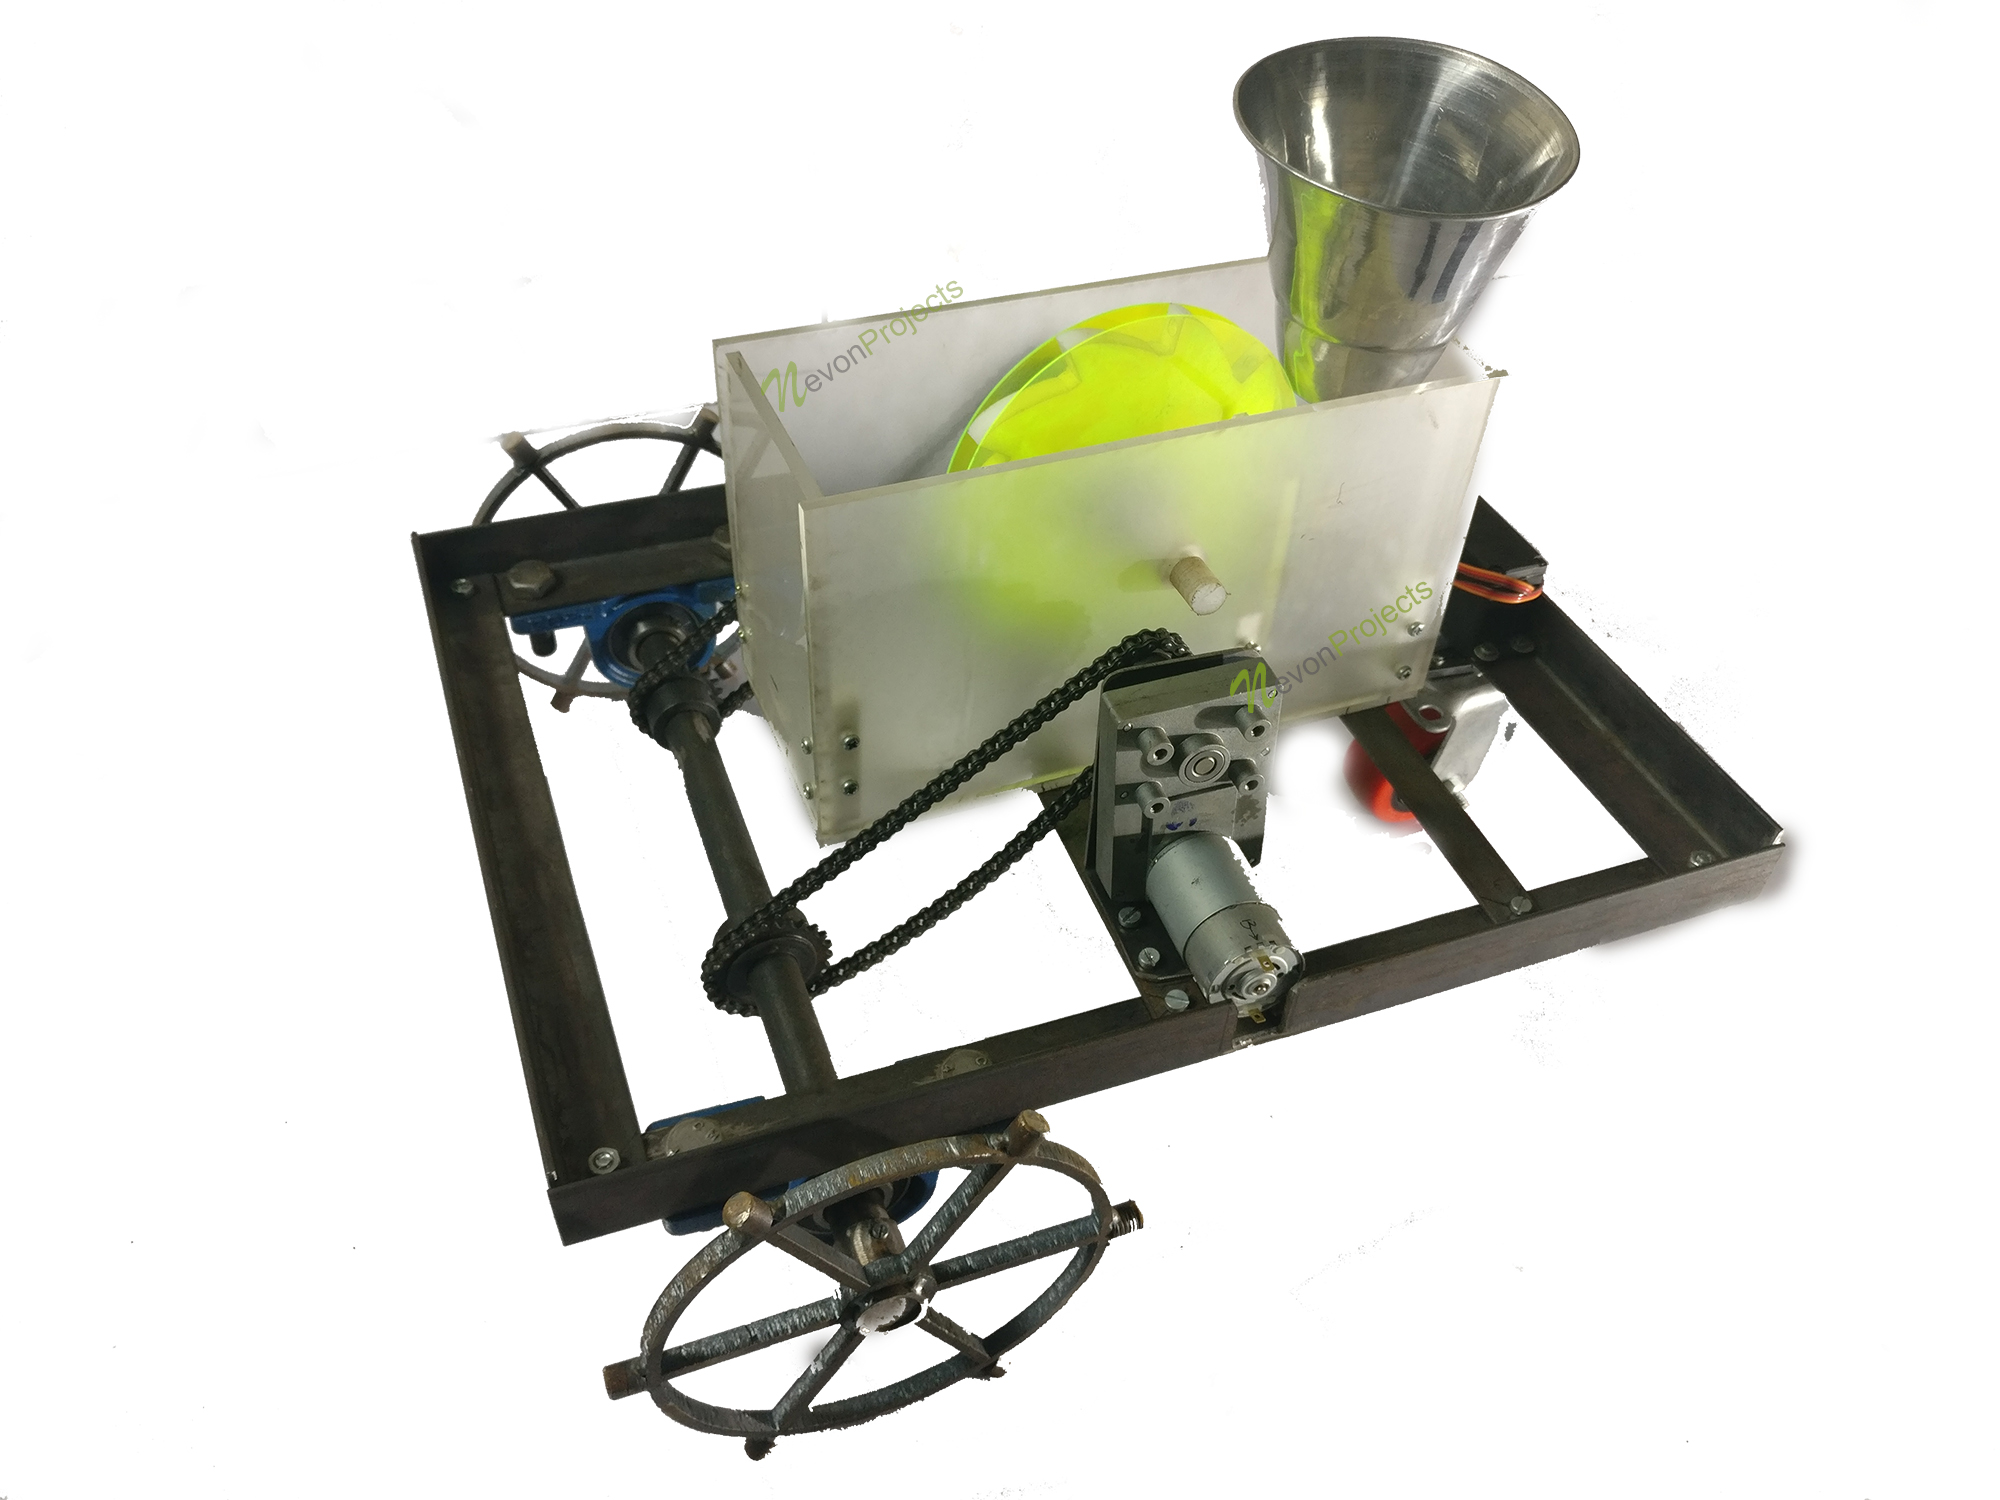
🛞 Robot Chassis
Includes: 4 Wheels + Frame
Complete chassis kit with wheels and mounting platform.
🔩 L Clamp
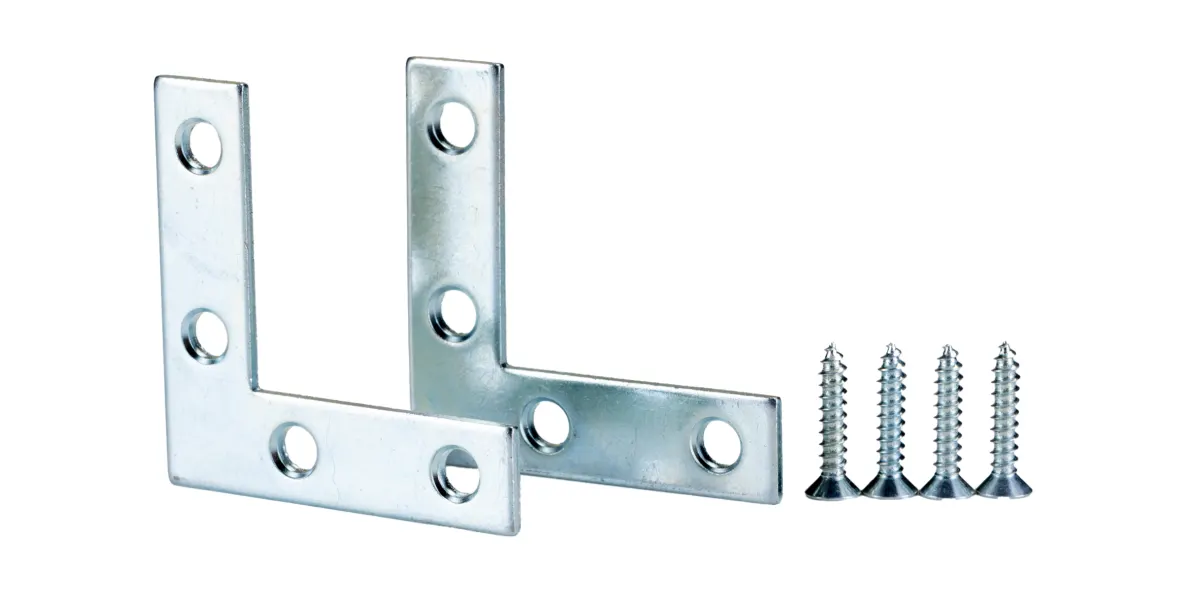
Purpose: Motor & Wheel Support
Brackets for securing motors to the chassis.
🦾 Servo Motors
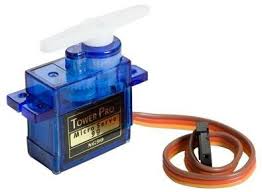
Quantity: 3
For seed dispenser and other precision movements.
💧 Water Motor Pump
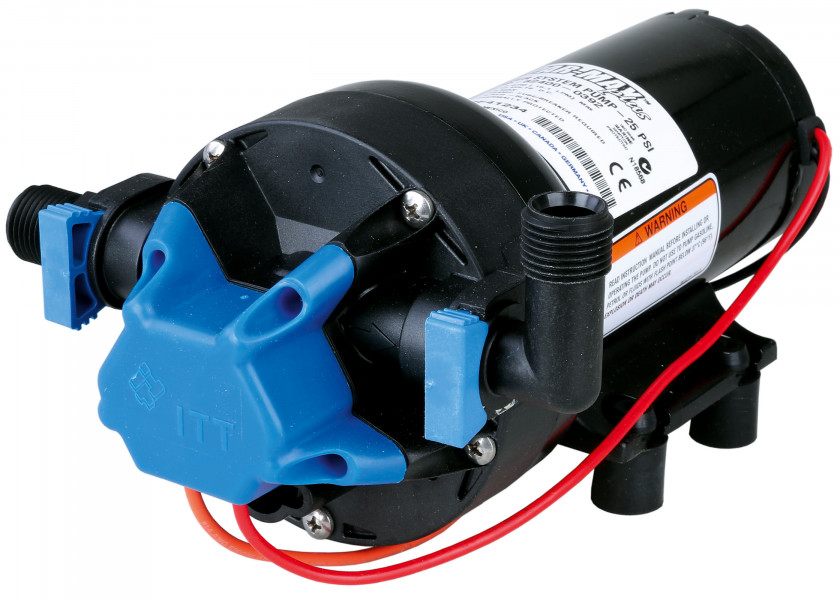
Voltage: 5V DC
Pumps water from container for irrigation.
🪣 Water Container
Purpose: Water Storage
Holds water for the irrigation system.
🌾 Seed Dispenser
Function: Automated Seeding
Dispenses seeds at regular intervals.
📡 Bluetooth HC-05
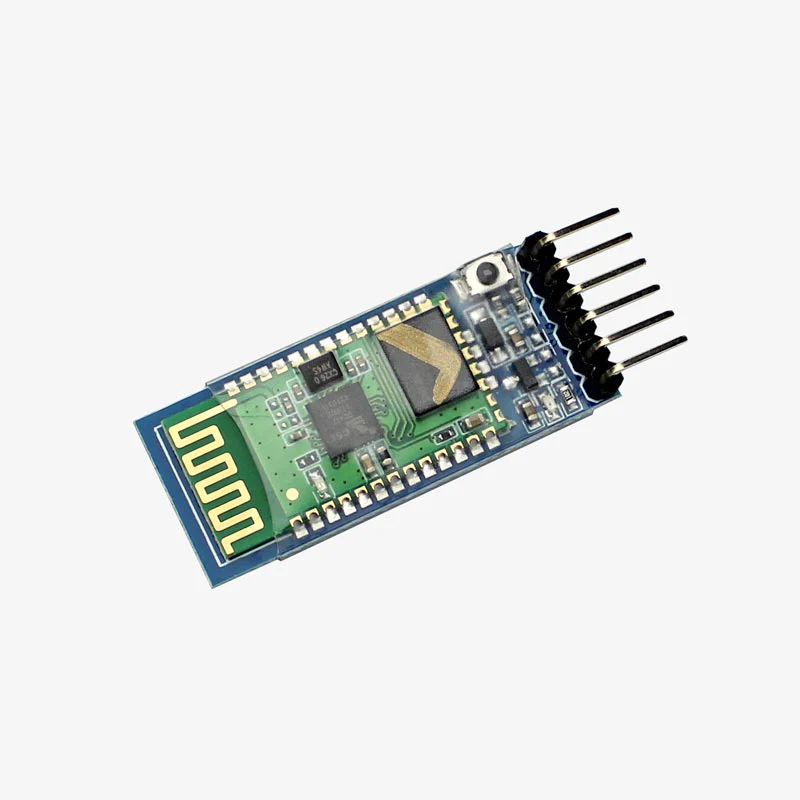
Range: ~10 meters
Wireless control via smartphone app.
🔋 Battery Pack
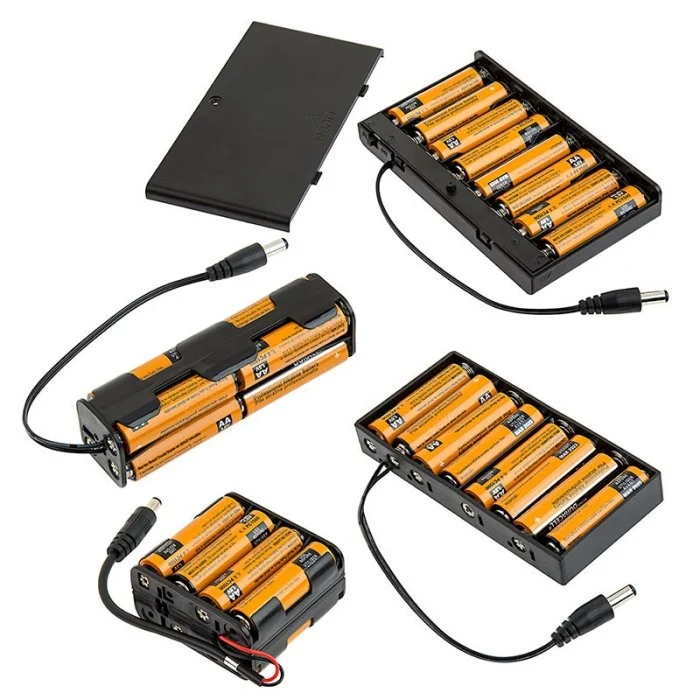
Voltage: 7.4V Li-Ion
Powers the entire robot system.
☀️ Solar Panel
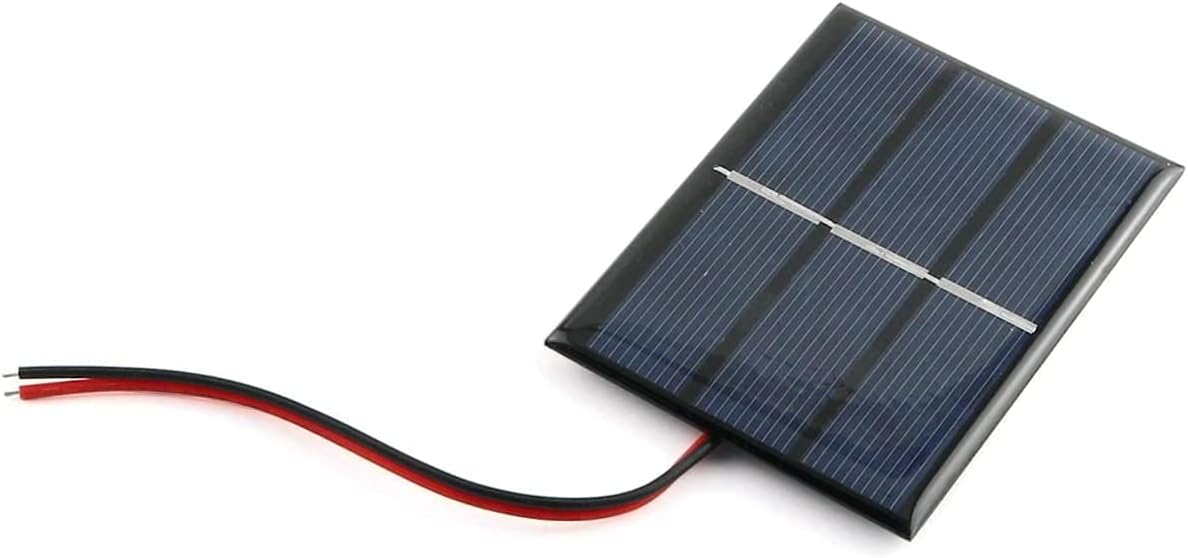
Optional: Eco-friendly power
Charges battery using solar energy.
⚡ Voltage Regulator 7805
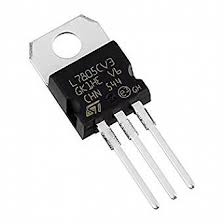
Output: 5V Regulated
Converts battery voltage to stable 5V for Arduino.
🔌 Jumper Wires
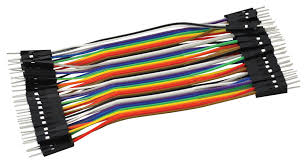
Types: M-M, M-F, F-F
Connects all components together.
⚙️ Capacitors
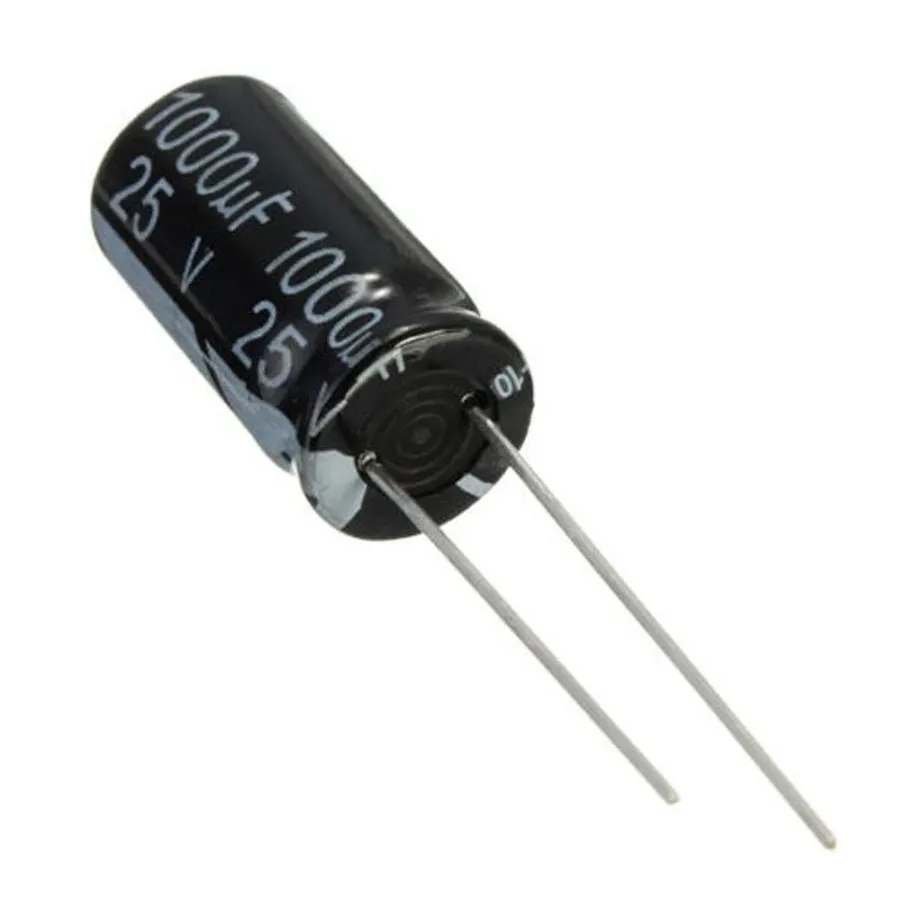
Values: 1000µF, 100µF (25V)
Smooths power supply and reduces noise.
🔦 Diode 1N4007
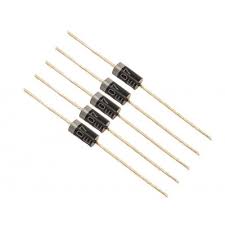
Purpose: Reverse Polarity Protection
Protects circuit from voltage spikes.
🔴 Resistor 1kΩ
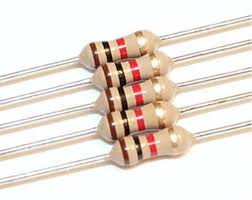
Value: 1000 Ohms
Current limiting for LEDs and circuits.
💡 LEDs

Purpose: Status Indicators
Visual feedback for system status.
🟢 Zero PCB
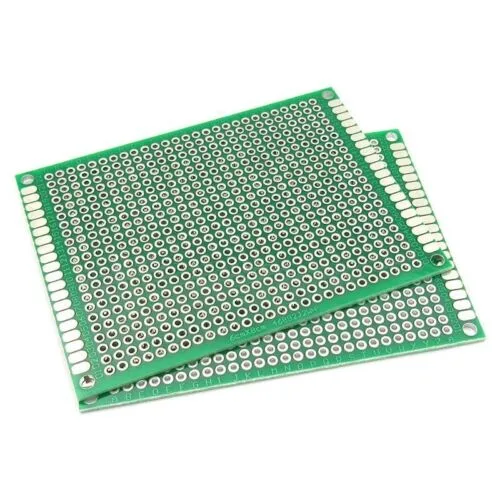
Purpose: Prototype Board
For soldering permanent connections.
📌 Berg Sticks
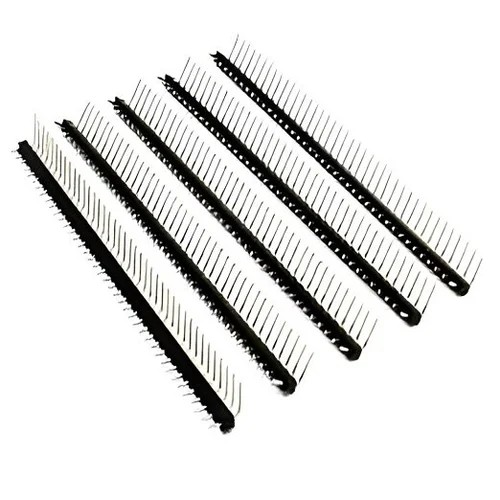
Type: Male Headers
Pin connectors for modular connections.
🔘 Power Switch
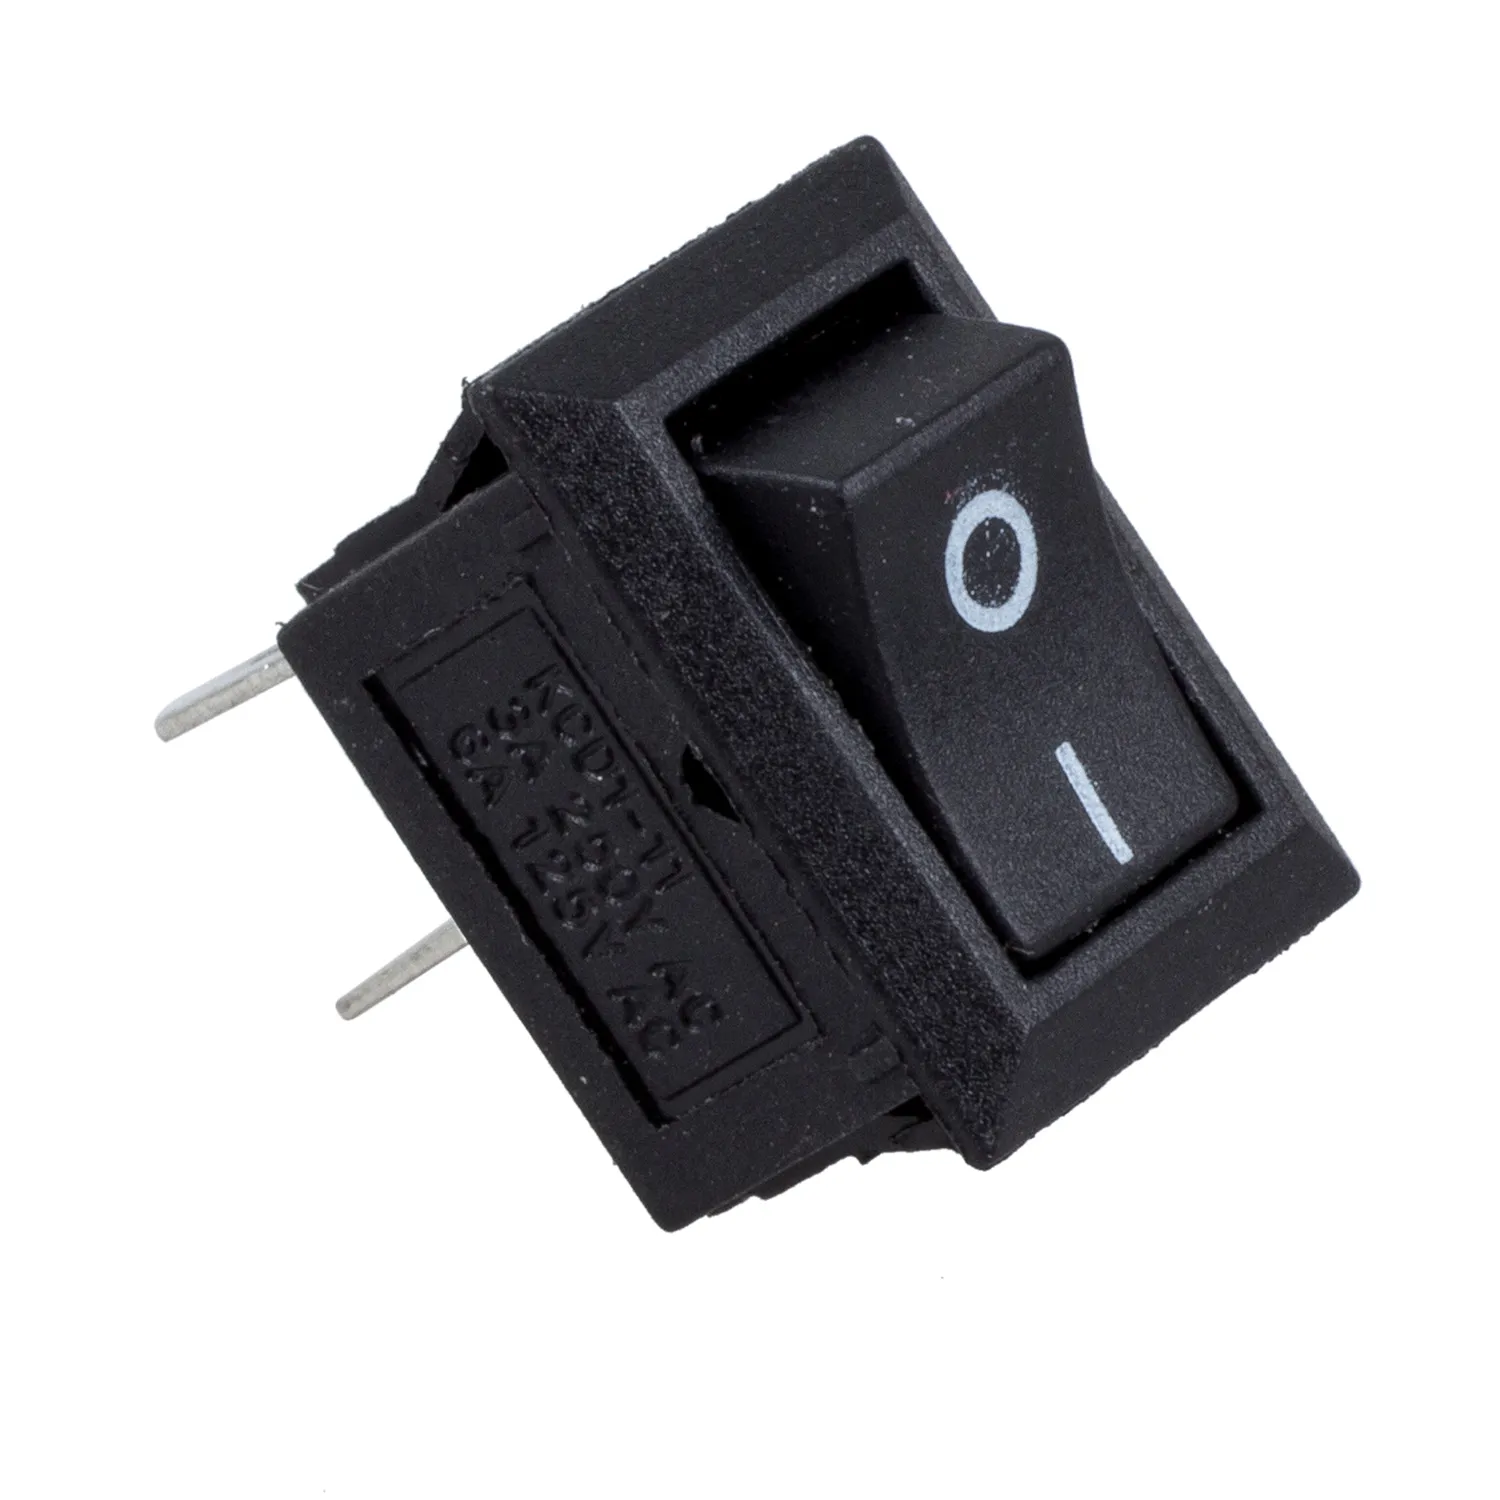
Type: ON/OFF Toggle
Main power control for the robot.
🛠️ Assembly Stages
Chassis Assembly
Mounting motors and wheels to the acrylic/wood frame.
Wiring
Connecting jumper wires between components.
Programming
Uploading the sketch via USB.
🎥 Video Tutorials & Component Explanations
Watch these educational videos to better understand how each component works!
🧠 Arduino Uno - Introduction
Learn the basics of Arduino Uno microcontroller.
🧠 Arduino Uno - How It Works
Deep dive into Arduino's internal workings.
🦾 Servo Motor Explained
Understanding servo motors and their control.
📡 Bluetooth HC-05 Module
How to use Bluetooth modules with Arduino.
🔴 Resistors - Basics
Introduction to resistors and their uses.
🔴 Resistor Color Codes
Learn to read resistor color codes.
⚙️ Capacitors Explained
Understanding capacitors and their function.
🔦 Diode 1N4007
How diodes protect your circuits.
📌 Berg Sticks/Headers
Using pin headers for connections.
🟢 Zero PCB Tutorial
Prototyping on Zero PCB boards.
💡 LEDs - Basics
Understanding LED basics and usage.
💡 LED Circuit Tutorial
Building LED circuits with Arduino.
🔘 Switches for Arduino
Using switches in Arduino projects.